India does not have a first-to-file system unlike China and a prior user of a trademark is in an advantageous position and gets rights over a trademark. Therefore, it is imperative that due diligence measures are taken before choosing a trademark. A trademark clearance search entails ascertaining trademark-ability, similarity and/or conflicts with pending or registered marks that are phonically, visually or conceptually similar to a proposed mark. A well-done trademark clearance search is critically important and constitutes 65% of the whole trademark registration process. Since the trademark process takes about 6 to 12 months until it is finally registered, an applicant after obtaining clearance from a trademark search can proceed to use the brand name, logo or slogan in the business without any apprehension right from the day of filing. A trademark having no potential risk factors will succeed to registration without any objection or opposition, saving significant time and cash. Although a trademark search is not a rocket science and can be easily done by any person having adequate computer knowledge, interpretation and analysis is best handled by a well-experienced trademark lawyer. This article attempts to explain how a simple preliminary do-it-yourself trademark search can be done by a client before approaching a trademark lawyer.
Steps to do a DIY trademark public search?
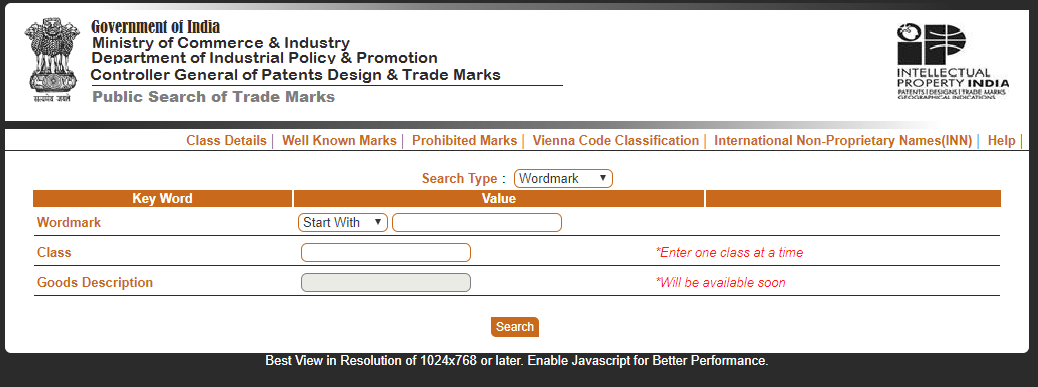
STEP 1: First step is to visit the website and the search engine as shown below in Fig 1. Trademark public search is made available by the Indian Trademark Registry on its website at www.ipndia.nic and the search engine is accessible at http://ipindiaonline.gov.in/tmrpublicsearch/frmmain.aspx. This is freely accessibly by the public 24×7 on all days.
FIG 1.

Trademark Public Search Option
STEP 2: Once you have reached the website, you can choose any one of the search types available under the Search Type drop-down menu:
1) Wordmark – words including alphanumeric (must be more than 3 characters)
2) Vienna Code – This refers to codes assigned to each object that are graphically represented, such as animals, birds, shapes, humans, etc.
3) Phonetic – similar sounding letters, such as “simla”, “shimla”, “zimla”, “chimla”, “sheemla”, “cimla”
STEP 3: Once you have chosen the Search Type, you can then Click the Class Details and identify the category in which your goods or services belong. Trademark classification consists of 45 NICE classes, each Class covering certain goods and services. Classes 1-34 deals with goods and Classes 35-45 deals with services. For example, clothing, footwear, headgear will fall in Class 25; headphones, camera will fall in Class 9; Online e-commerce services fall in Class 35.
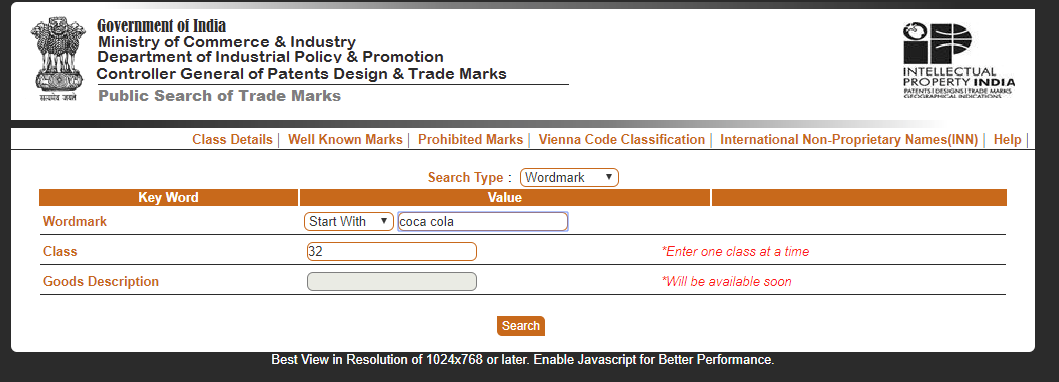
STEP 4: Once you have finalised on the required Class or Classes, enter the Class number in under Class and the wordmark to be searched upon as illustrated below. In the example below, the trademark searched for is “coca cola” and the Class 32 (carbonated beverages)

Trademark Public Search India example
The search can also be narrowed and enhanced by using the filters “Starts With“, “Contains” or “Match With“ available as drop-down options. When searched with a keyword using the “Starts With” option, the results will consist of marks beginning with the searched keyword, i.e., for example, coca.
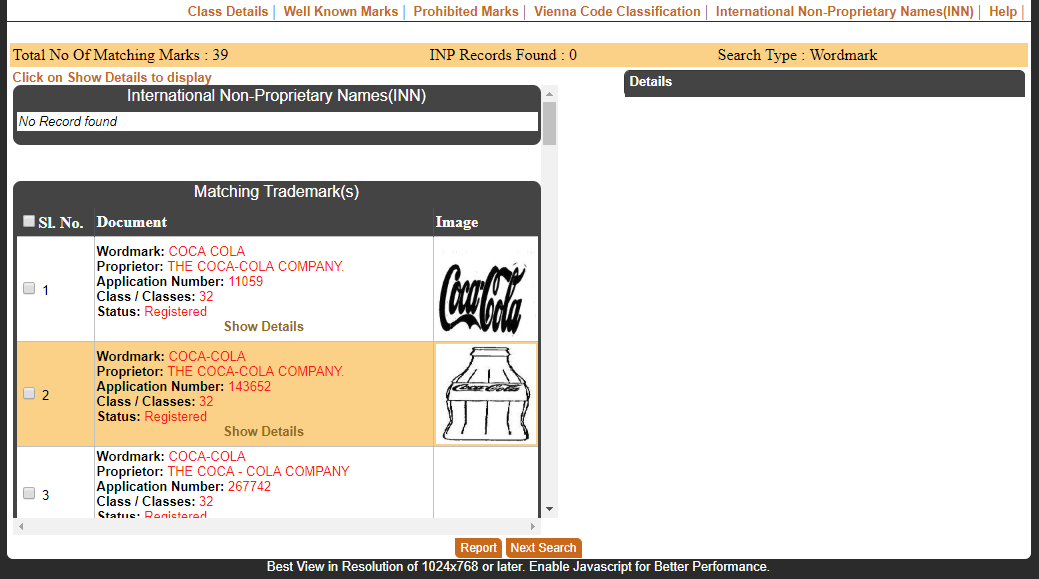
STEP 5: Once you have done all the above steps, you can click the Search button, which will generate a list of relevant marks as shown below:

Trademark Public Search India example
Scroll down will show the list of all relevant marks and the Report button can generate a formal report consisting of all relevant trademarks.
A well-qualified trademark attorney plays a vital role in analysing and interpreting potential conflicts between the proposed and the identified potentially conflicting marks identified in a search. It is really unfortunate that “clearance search” are often handled loosely by non-attorneys and unqualified personnel.
